DTG printing
Direct to garment, or DTG, is a printing method where the ink is applied directly to the garment – a perfect solution for detailed, colourful, high-quality prints on clothing.
DTG is a digital process, which makes the method well suited to small runs while allowing a wide range of colours. The print that bonds with the garment is remarkably soft, durable and flexible. Since 2016 we have worked with printers from Kornit. With them we can offer full-colour prints with fine detail, gradients between colours and semi-transparent details on garments of every colour.
Eco-friendly ink
We chose Kornit printers because they are flexible and world leaders in DTG technology. The ink we use, NeoPigment™, is water-based and completely free of heavy metals, formaldehyde and alkylphenol ethoxylates. It is therefore non-toxic and biodegradable, although we choose to hand the ink in for recycling. The ink is also GOTS approved, so organic garments keep their certification after printing. Together with our very water-efficient production, this makes for sustainable fashion, which goes hand in hand with our philosophy here at Texprint.
Benefits of DTG printing
Short lead time: With DTG printing we can take a design, save it and start printing within seconds.
No set-up or minimum quantity: We can print as many or as few garments as you like. DTG handles any order size. Although we offer discounts for larger volumes, we encourage our customers to order only what they need, to reduce waste and our environmental impact. Since there are no start-up fees, printing a single garment still makes economic sense.
Multicoloured and complex designs: Unlike other printing methods, it does not matter how many colours there are in the image. With DTG it is easy to print photographs, multicoloured logos, gradients and even transparent details. What others would call difficult or impossible, we print without a problem.
Durability and care
Clothes printed with our DTG are made to last. Unfortunately, as with anything, things can be done wrong, which has given the technique a poor reputation with some. For the print to last, we recommend washing the garment inside out at 30 °C and not tumble drying it. That way the print and the garment stay looking good for a long time, and you can enjoy your garment again and again.
When is DTG the best choice?
Direct to garment is an excellent choice for
Print on demand
DTG is perfect for print on demand, as every garment we sell on our site has been tested for the best print result. Each material setting follows automatically when a garment is ordered and a design is uploaded.Small and medium orders
The method is very cost-effective for small runs and perfect for special orders or small product series.Complex and colourful designs
If the design you want to print is detailed, has many colours or gradients, DTG is an excellent choice, as the method can handle complex images and reproduce them.Personal prints
DTG gives you the freedom to create unique designs just as you want them.
Contact us if you have questions about your design or DTG
Not sure how your design will turn out in print, or need help optimising your DTG print? We are here to help you get the result you are after, so please contact us with your questions. We look forward to helping you bring your print ideas to life with direct to garment.
Examples
Finally, here are a few designs we have printed and optimised for our DTG process. Drag the slider to compare the print without preparation with the print after preparation.
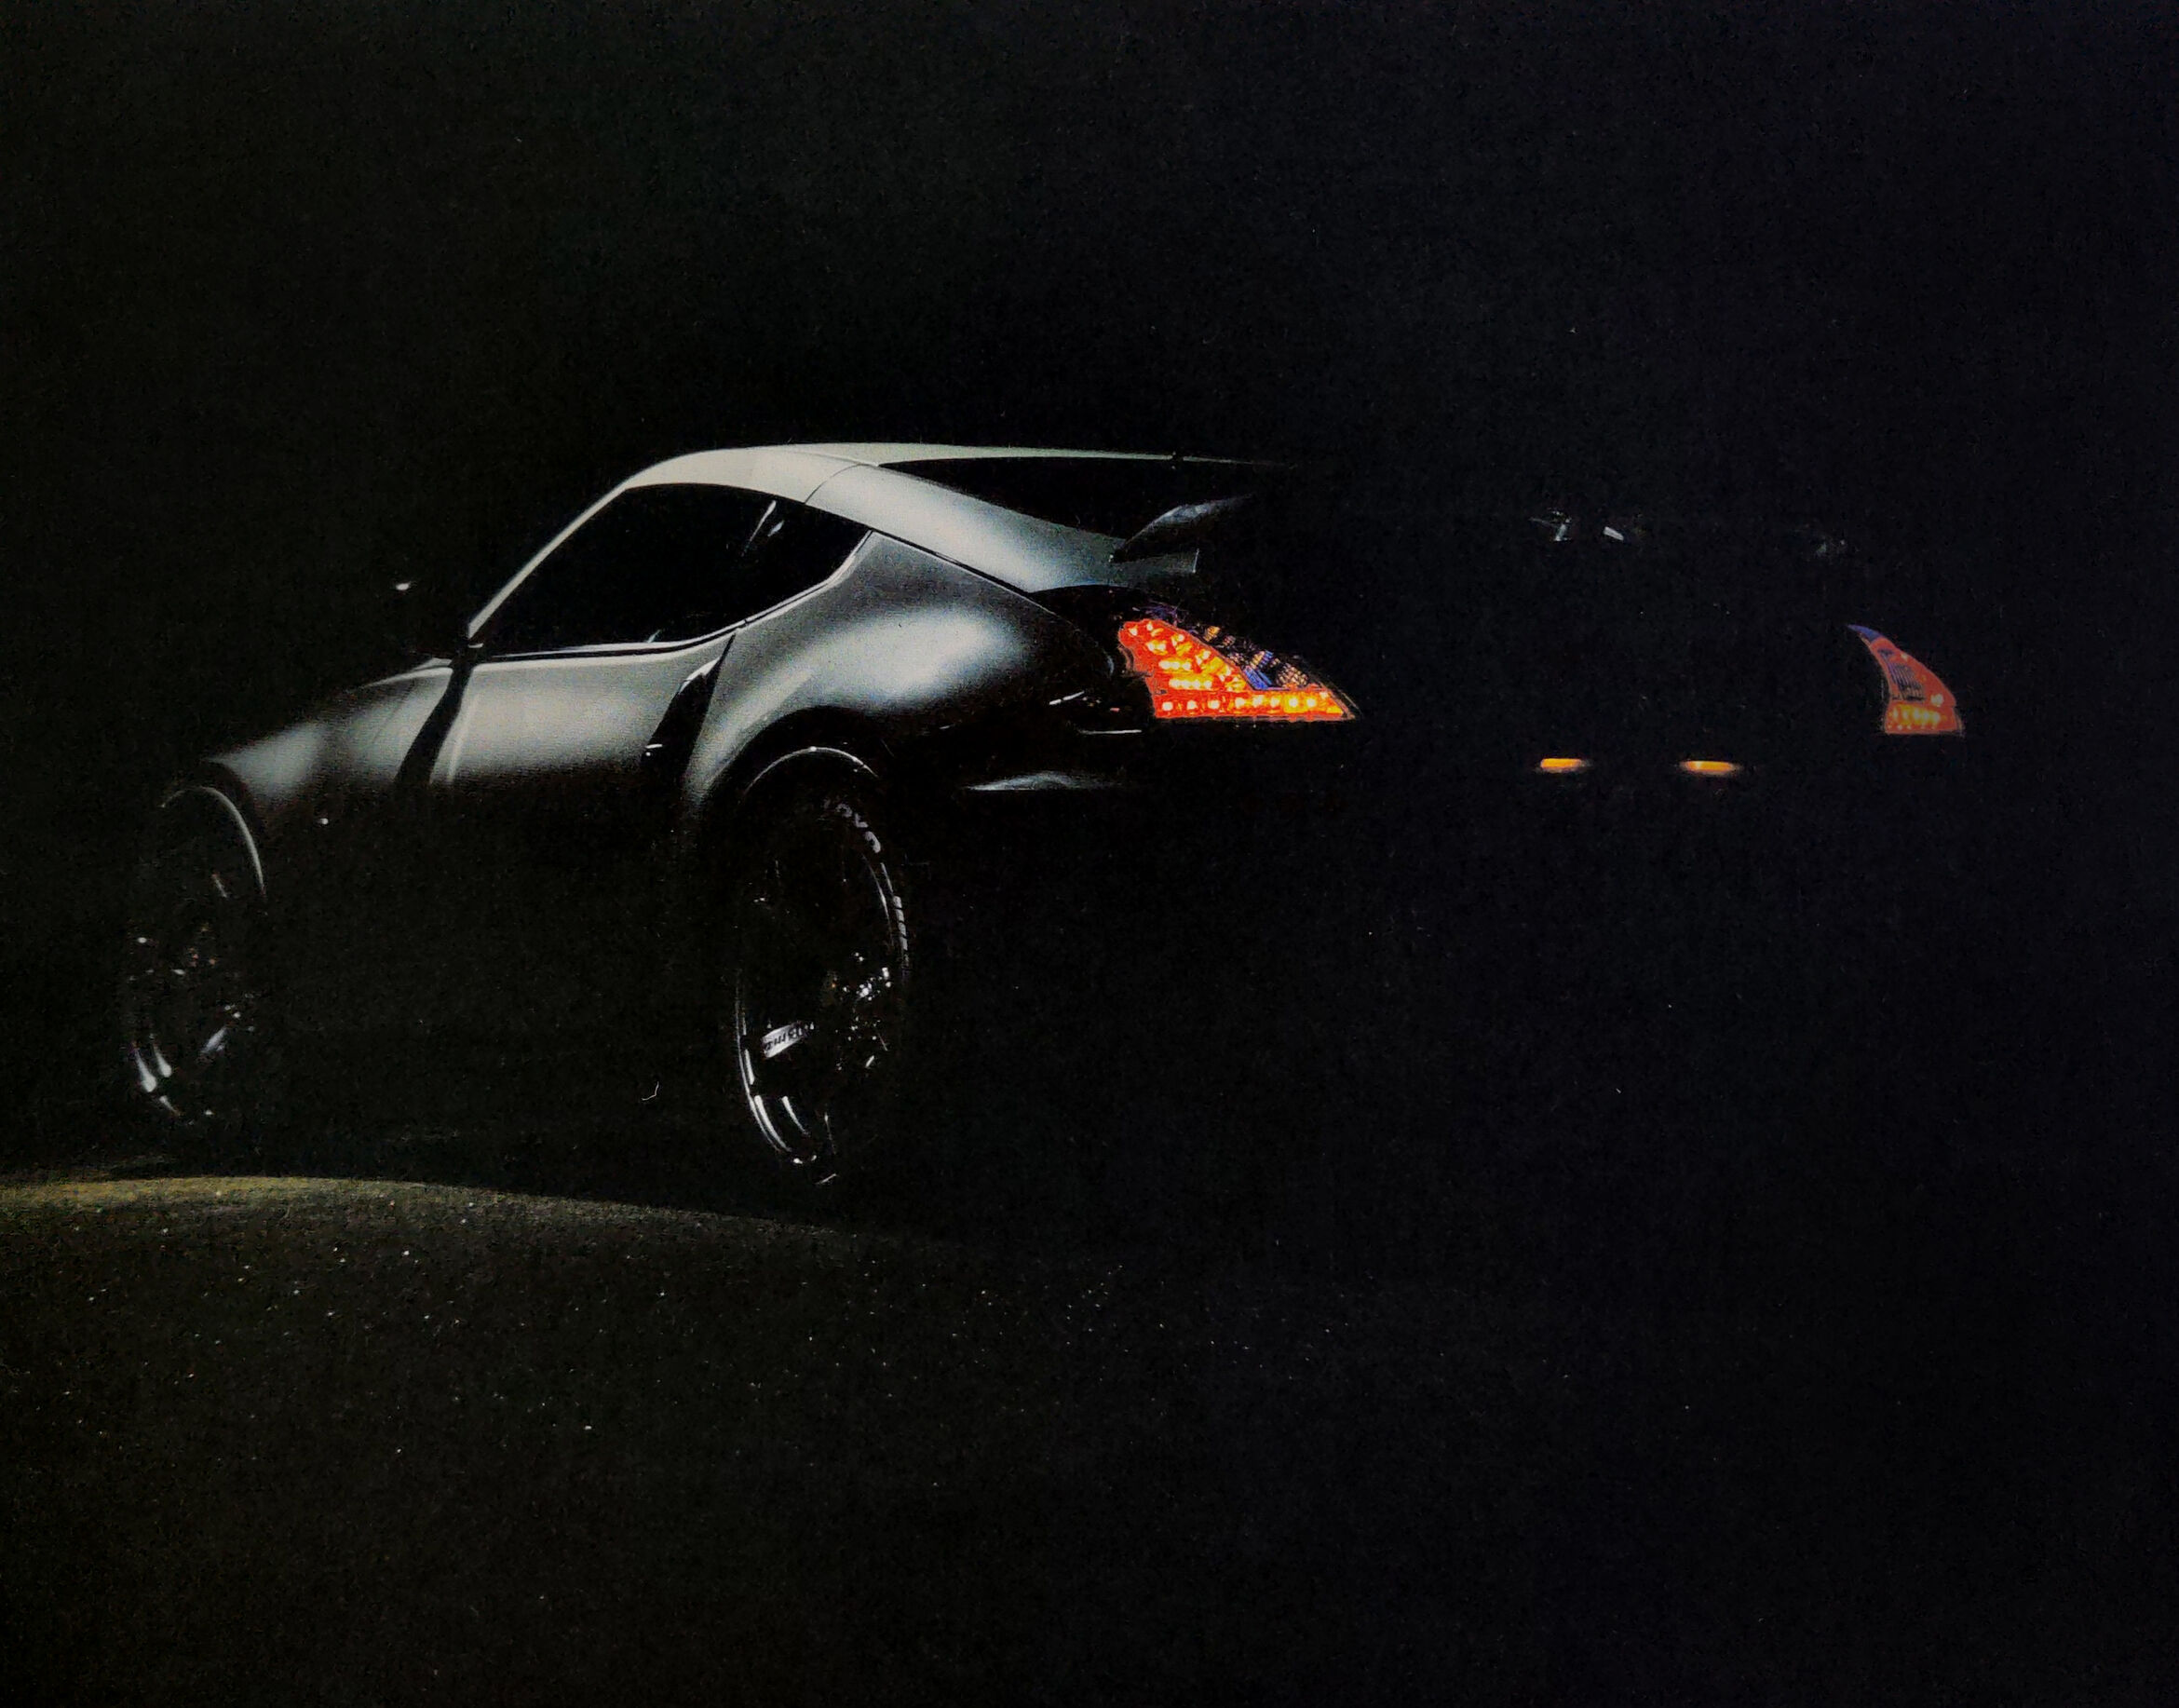
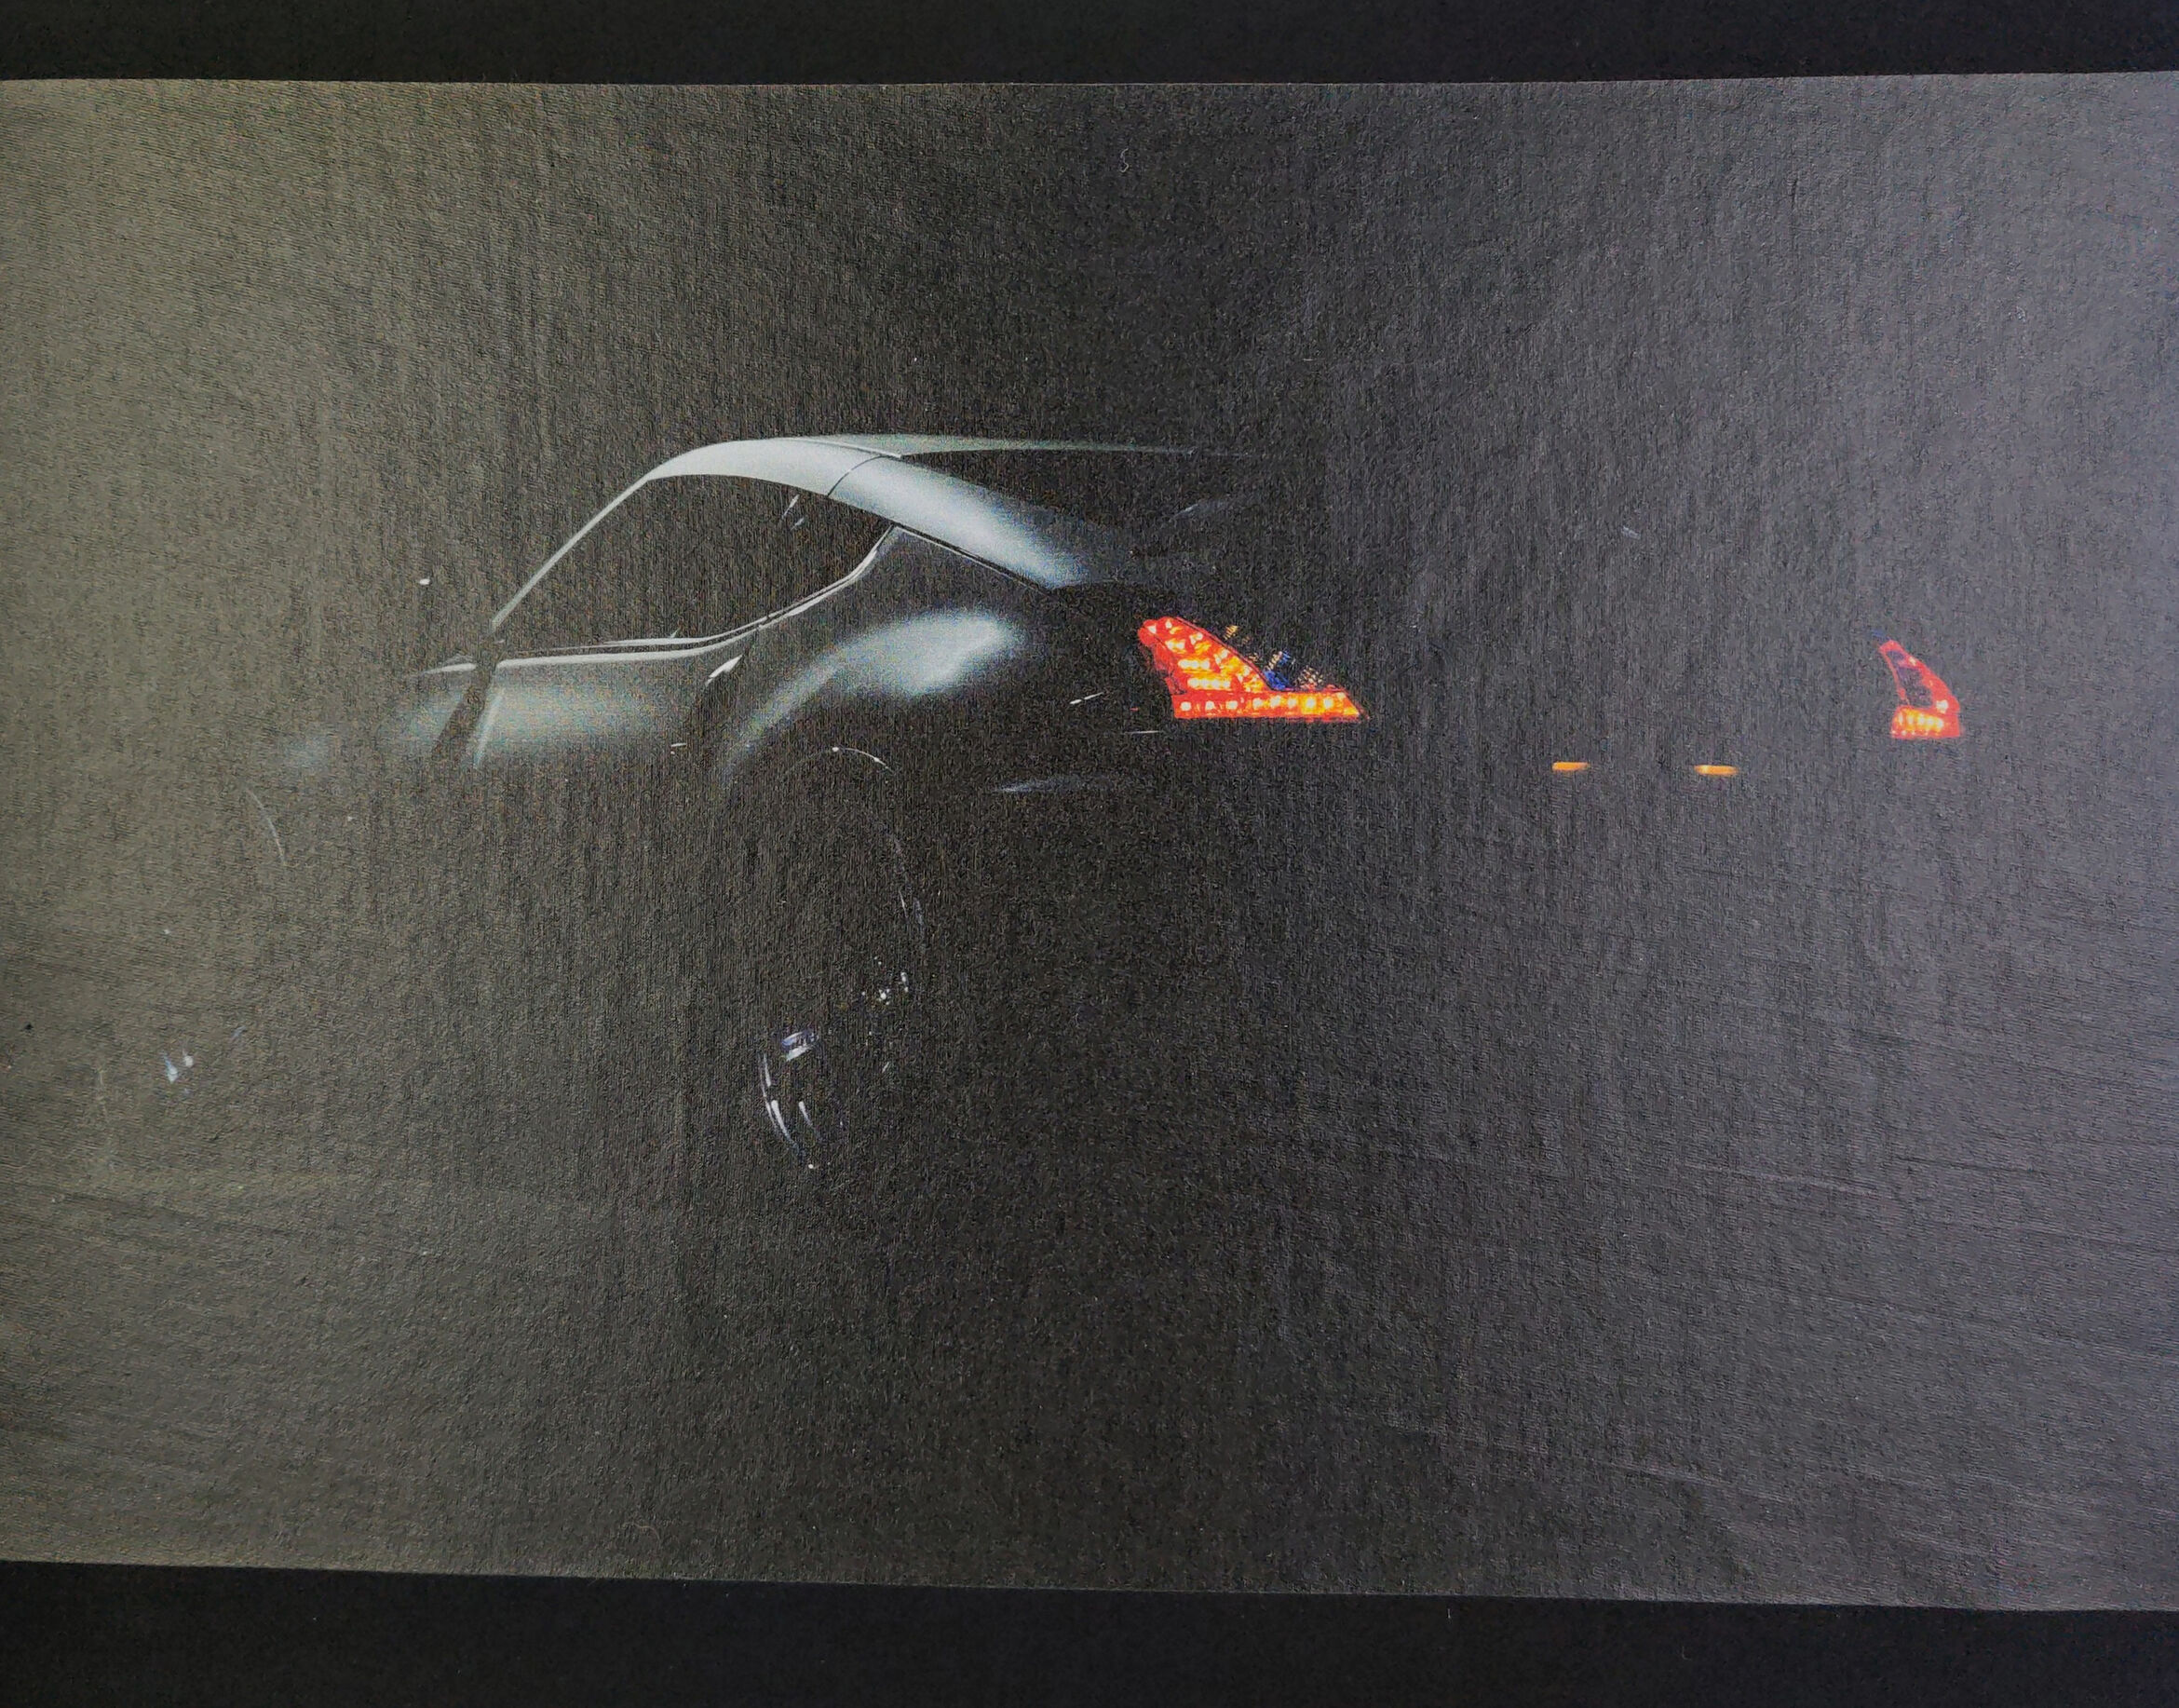
This is a photo of a sports car taken in the dark against a black background. We have cut out the car and faded out the parts of the image that go from light into shadow. The comparison shows how the image would have looked had we printed it as it was, without doing anything to it.
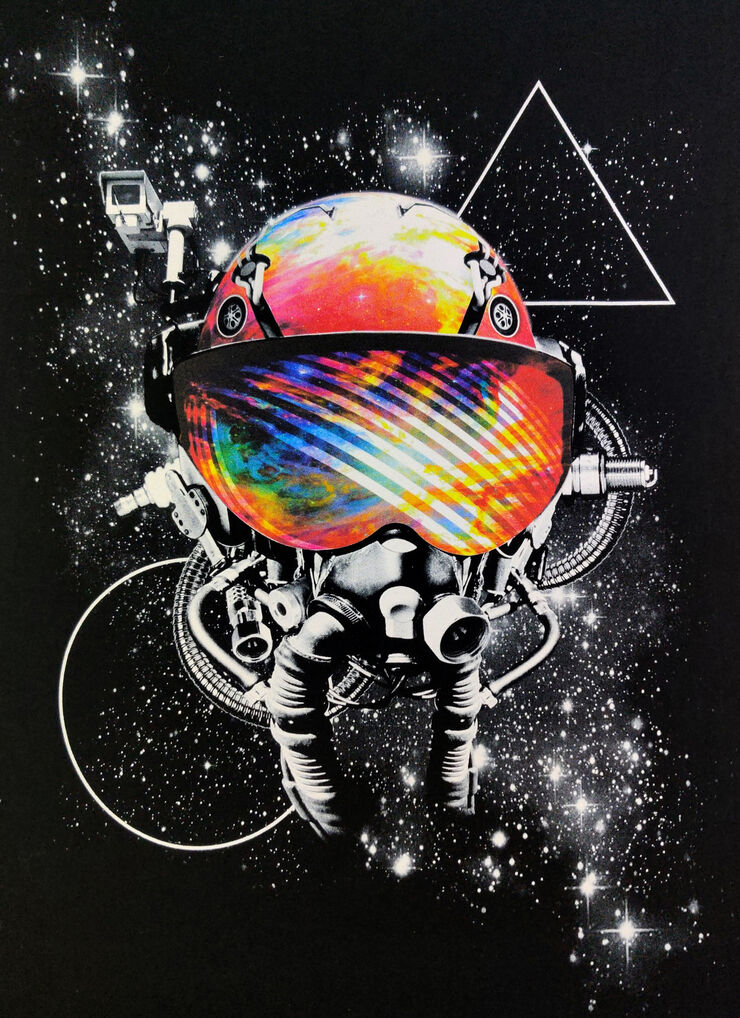
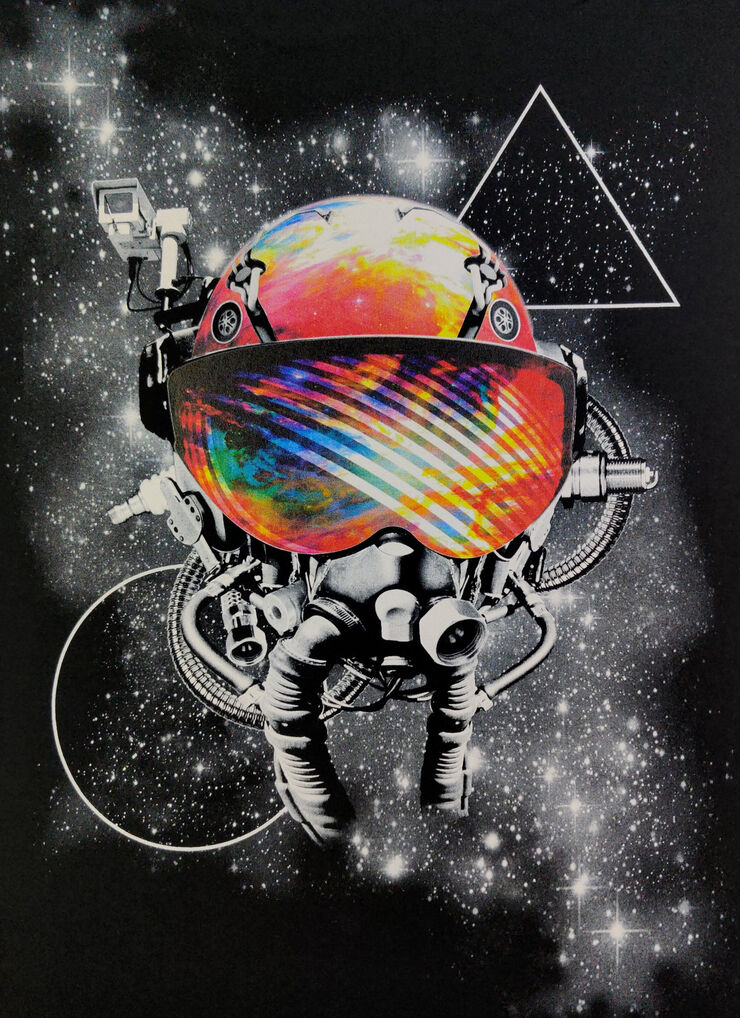
This is a digital design with a colourful astronaut helmet and gradients around the stars. Printed without treating the image first, it turns out as the before picture shows: the design looks flat and there is far too much colour around the stars. After preparation the result is as the after picture shows. The contrast is better, the colours stronger and the starry sky closer to the original.
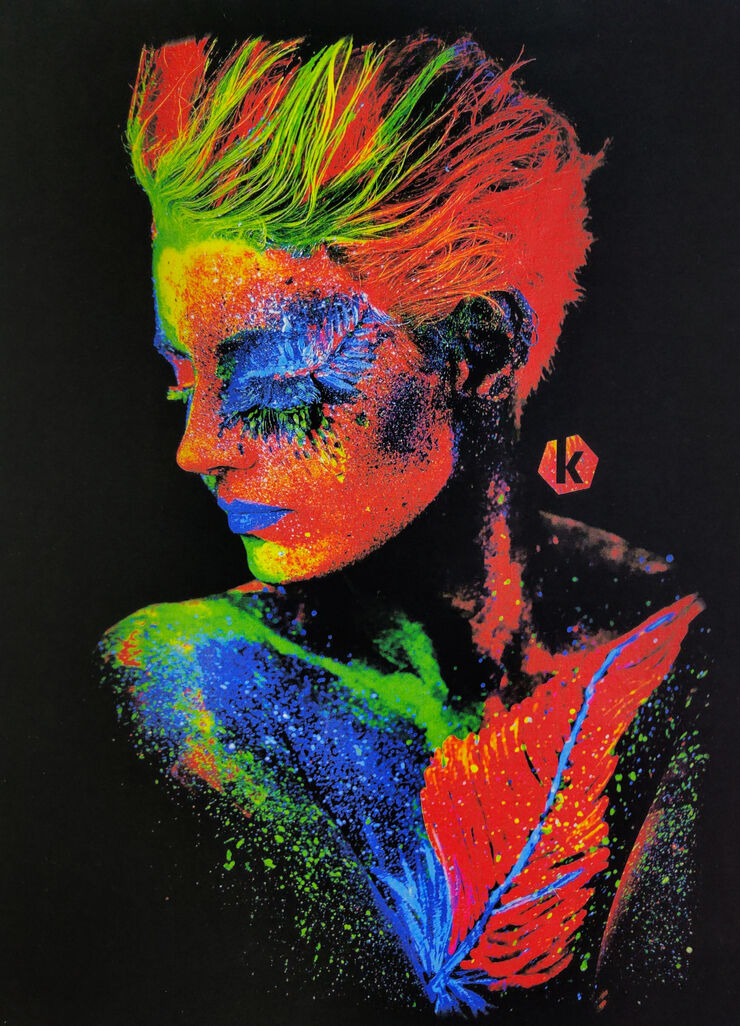
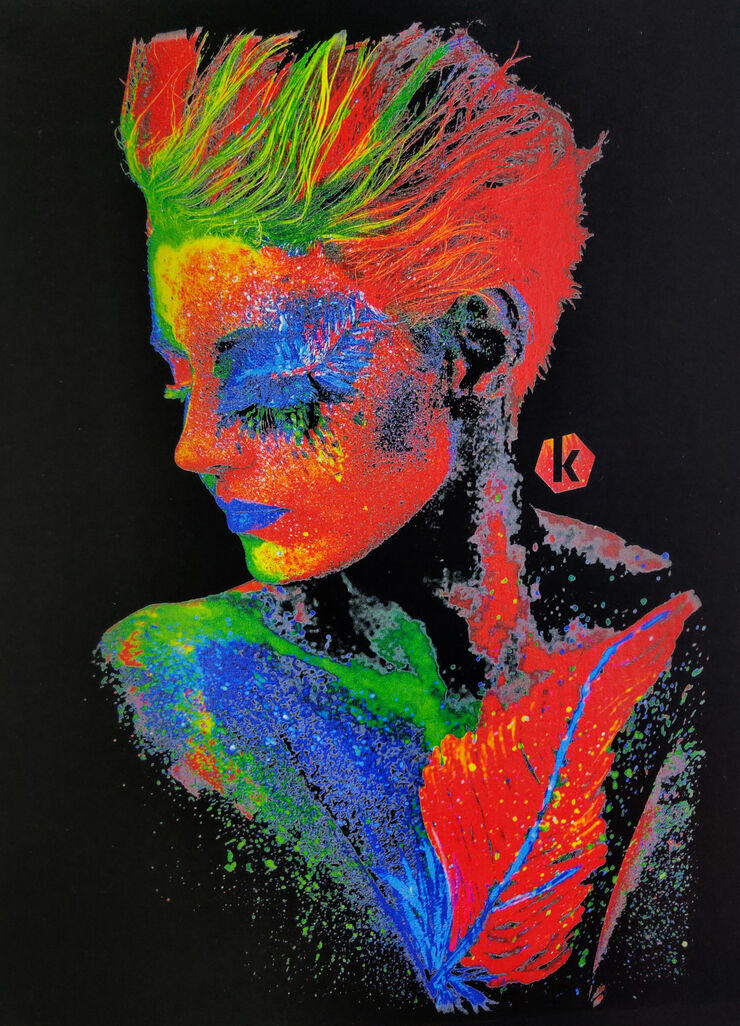
With this sample image from Kornit we want to show how a treated design gets better fades in semi-transparent colours. Without optimisation the printer lays a grey tone under those parts, as the before picture shows. In the after picture we adjusted this by hand before printing, so the grey areas disappear and the print looks much better.